Star Trails Photography: Technique and Timing
From single long exposures to stacking hundreds of frames. Settings, composition, stacking software, and advanced techniques.
Star trails are the simplest concept in astrophotography: leave the shutter open while Earth rotates, and stars draw arcs across the frame. The result is concentric circles radiating from the celestial pole — a visual that is immediately striking and requires no telescope, no tracking mount, and no specialized knowledge.
But the simplest concept doesn't mean the simplest execution. Successful star trail photography means managing exposures that span one to four hours, dealing with battery drain, dew formation, light pollution, airplanes, and the fundamental choice between two very different techniques.
This guide covers both techniques in full, with honest recommendations about which to use and when.
Single Long Exposure vs Stacking
There are two ways to capture star trails. Understanding the difference is important because it affects your settings, your workflow, and your final result.
Single Long Exposure
Open the shutter once. Leave it open for 30 minutes to several hours. Close the shutter. You have one image containing the entire star trail.
Advantages: simple concept, single file to process, no gaps in the trails, no alignment needed.
Disadvantages: hot pixels accumulate during long exposures (they appear as bright colored dots scattered across the frame). Noise increases with sensor temperature — the sensor heats up during extended exposures, producing thermal noise that degrades shadow detail. Any disturbance during the exposure (someone bumping the tripod, a car's headlights sweeping across the scene, a plane crossing the frame) ruins the entire image. And if your battery dies at minute 58 of a 60-minute exposure, you lose everything.
Battery drain is severe. Continuous power to the sensor for an hour or more can exhaust a battery that would last hundreds of normal shots. Some cameras overheat and shut down during very long exposures.
Stacking Multiple Short Exposures
Shoot a continuous series of shorter exposures — typically 20 to 30 seconds each — back to back for the duration you want your trails to span. Then combine (stack) the images in software, using a blending mode that keeps the brightest pixels from each frame.
Advantages: hot pixels are manageable (they appear in different sensor positions due to slight variations, or can be removed using dark frame subtraction). Noise is lower per frame because no single exposure is long enough for significant thermal noise. If one frame is ruined (plane, headlights, fogging), you simply exclude it from the stack — the rest of the sequence is intact. If your battery dies, you still have all the frames up to that point. And you can use the same frames for a stacked Milky Way image, a timelapse video, or individual astrophotography shots.
Disadvantages: the gap between exposures (typically 1-2 seconds while the camera writes the file and triggers the next shot) creates faint gaps in the trails. On close inspection, trails appear as dotted lines rather than continuous arcs. This is usually invisible in web-sized images and prints up to about 40×60 cm, but visible in very large prints or aggressive crops.
Which to Use
Stacking wins for almost every practical scenario. The technical advantages — lower noise, resilience to interruptions, usable individual frames — outweigh the minor cosmetic issue of inter-frame gaps. Every serious star trail photographer has migrated to stacking for this reason.
Single long exposure is only preferable when you specifically need gap-free trails (competition requirements, extreme enlargements) and can manage the technical challenges (Bulb mode, external power, hot pixel mapping, no interruptions).
The rest of this guide assumes stacking.
Finding the Celestial Pole
Star trails form concentric circles centered on the celestial pole — the point in the sky directly above Earth's rotational axis. Including the pole in your composition creates the iconic circular pattern. Excluding it creates elongated arcs.
Northern Hemisphere: Polaris
The north celestial pole is marked (approximately) by Polaris, the North Star. Polaris sits within about 0.7° of the true pole — close enough that it appears nearly stationary while all other stars rotate around it.
To find Polaris: locate the Big Dipper (Ursa Major). The two stars forming the outer edge of the Dipper's "bowl" (Dubhe and Merak) point toward Polaris. Follow the line from Merak through Dubhe and extend it about five times the distance between them. Polaris is the moderately bright star at the end of that line.
Polaris is at an altitude equal to your latitude. At 40°N, Polaris is 40° above the northern horizon. At 55°N, it's 55° up. This determines how you frame your shot — if Polaris is low, you can include a lot of foreground with circular trails in the upper portion of the frame. If it's high, you might point straight up for a full circular pattern.
Southern Hemisphere: Sigma Octantis
The south celestial pole has no bright marker star. Sigma Octantis is the closest naked-eye star to the pole, but at magnitude 5.4, it's barely visible to the unaided eye and impossible to find from light-polluted locations.
Southern Hemisphere photographers typically use the Southern Cross (Crux) to estimate the pole's location: extend the long axis of the Cross about 4.5 times its length southward from the Cross, and you reach approximately the south celestial pole.
In practice, many Southern Hemisphere star trail photographers include the Large and Small Magellanic Clouds in their compositions rather than centering on the pole. These satellite galaxies create distinctive bright patches in the circumpolar trails that are unique to southern skies.
Camera Settings for Stacking
Exposure Per Frame
20-30 seconds is the standard range. Shorter than 20 seconds means more frames to stack and more inter-frame gaps. Longer than 30 seconds risks visible star trailing within each frame (which actually doesn't matter much for star trails, but does matter if you also want to use individual frames for non-trail astrophotography).
Use the NPF Rule or 500 Rule to determine the maximum exposure for point-like stars, then use that value or slightly longer.
Aperture
f/2.8 is the most common choice. Wider (f/1.4, f/1.8) captures brighter trails and more faint stars, which creates denser, more impressive trail patterns. Narrower (f/4) still works but produces thinner trails and misses fainter stars.
For star trails specifically, lens aberrations like coma (which makes corner stars look like seagulls) matter less than for pinpoint star photography, because the stars are streaked into lines anyway. So you can often shoot wide open without the image quality penalty you'd see in static astrophotography.
ISO
ISO 1600-3200. Higher ISO captures more faint stars, producing a denser trail pattern. But higher ISO also means more noise, and noise accumulates differently in stacked images than in single exposures.
A practical approach: shoot at ISO 3200 for a rich star field. The stacking process and post-processing noise reduction handle the per-frame noise adequately for most uses.
Focus
Manual focus on a bright star, same as for Milky Way photography. Focus once at the beginning of the session and tape the focus ring in place. If you bump the tripod or change lenses during the session, re-focus.
Shooting Mode
Manual exposure, manual focus, continuous shooting (motor drive). Do not use aperture priority or any automatic mode — the exposure needs to be identical across all frames for consistent trail brightness.
File Format
RAW. Always RAW for astrophotography. The additional dynamic range and processing latitude are essential for bringing out trail detail and managing noise.
Intervalometer Setup
An intervalometer (either built into your camera or an external accessory) is essential. You need it to trigger back-to-back exposures continuously for the duration of your session.
Set the intervalometer to:
Interval: exposure time + 1-2 seconds. For a 25-second exposure, set the interval to 26-27 seconds. The extra second accounts for the camera writing the file and resetting.
Number of shots: calculate based on your desired trail length. More on this below.
Delay: 2 seconds (to let vibrations from pressing buttons dampen before the first frame).
Test the setup before your real session: trigger a sequence of 3-5 frames and verify that the camera is firing consistently with the expected gap between frames.
How Many Frames?
The length of star trails in your image depends on total elapsed time, not on any individual frame setting. Earth rotates 360° in about 23 hours 56 minutes (one sidereal day). Stars move at about 15° per hour.
A one-hour session at the celestial equator (where motion is fastest) produces 15° of trail. That's enough for clearly visible arcs. A two-hour session gives 30°. A three-to-four hour session gives 45-60°, which is a dramatic sweep.
Near the celestial pole, the trails are tight circles — the same total rotation, but compressed into a smaller area. Stars near the equator make the longest linear trails.
For a standard 25-second exposure with 2-second gap:
One hour: approximately 133 frames Two hours: approximately 267 frames Three hours: approximately 400 frames
Check your memory card capacity and battery life before committing to a long session. A three-hour session of 25-second RAW exposures on a 45MP camera produces roughly 80-120 GB of data, depending on the complexity of the scene (dark sky frames compress more than frames with bright foreground elements).
Foreground: Making Star Trails Interesting
Circular star trails alone become repetitive. The foreground subject gives the image context, scale, and personality.
Effective Foreground Elements
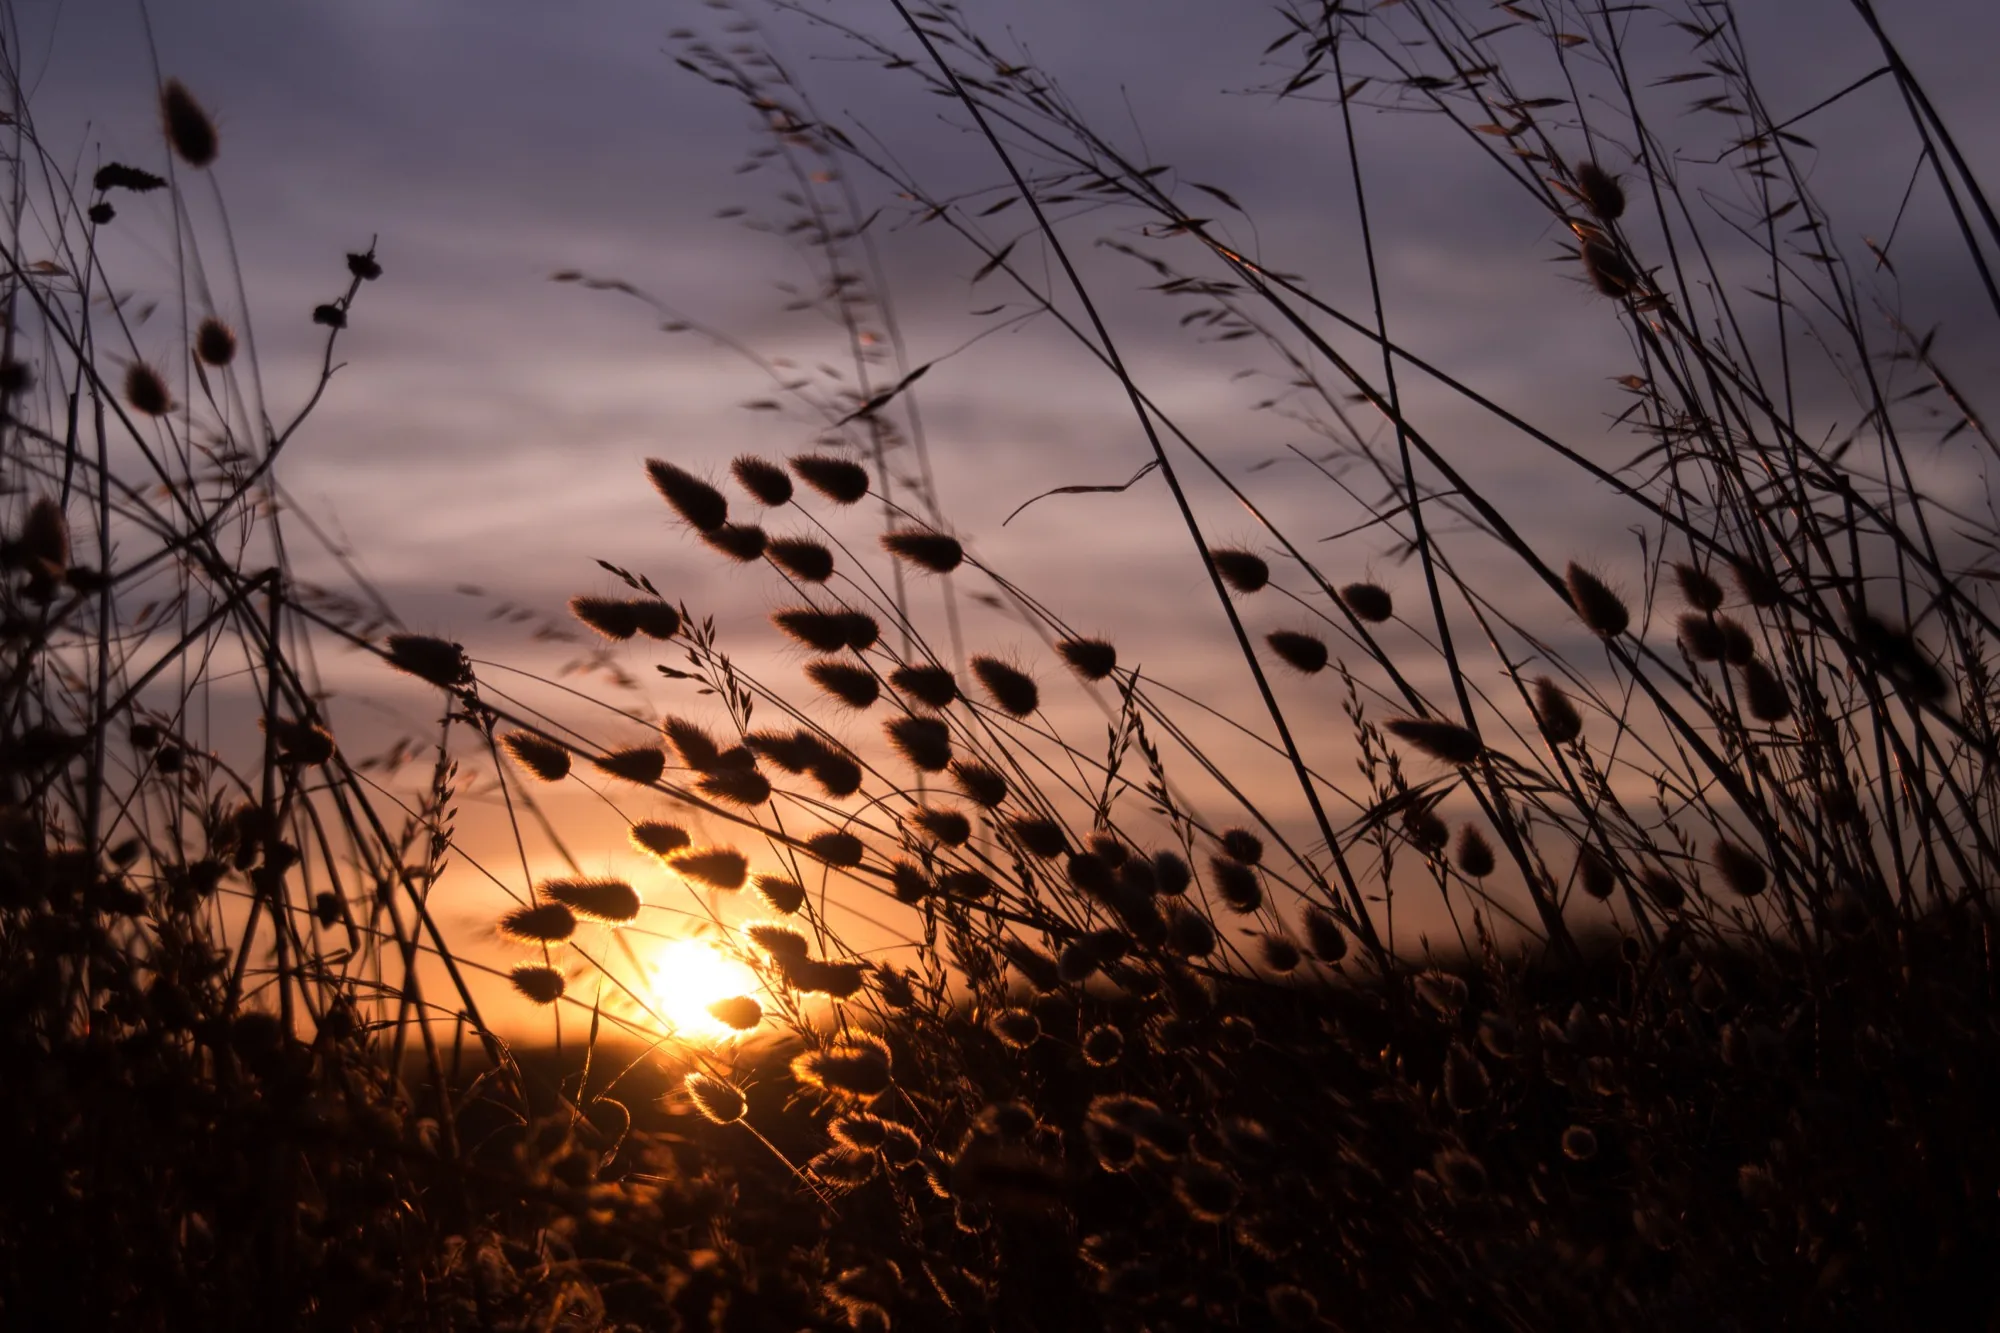
Trees — especially lone, distinctive trees — are classic. The silhouette of a tree against circling star trails is iconic because it combines organic form with geometric precision.
Buildings, ruins, and abandoned structures provide architectural contrast. Lighthouses are a perennial favorite.
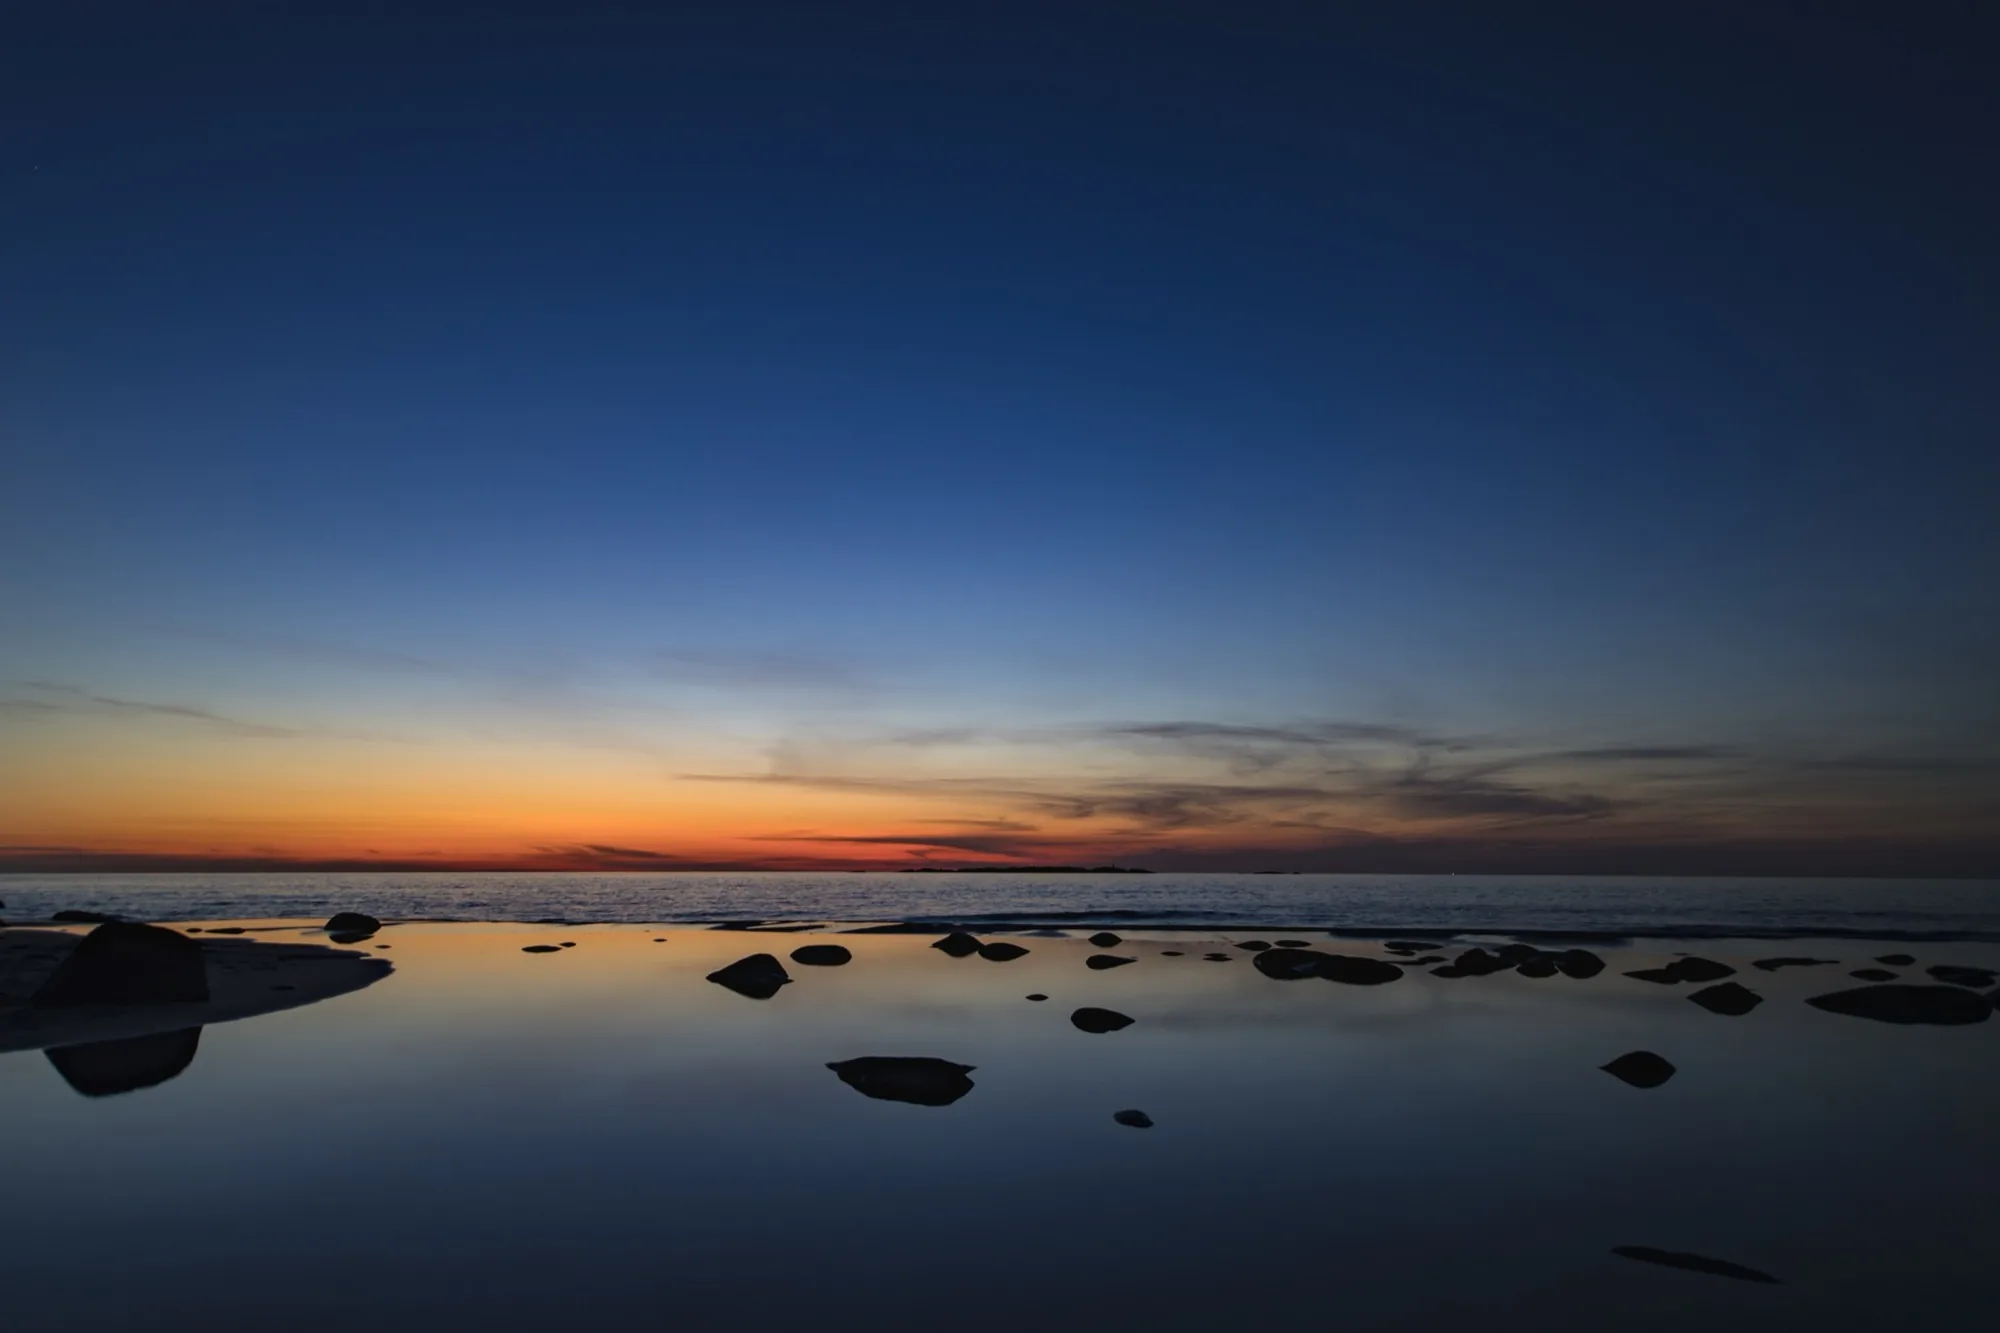
Water — if calm enough to reflect starlight — adds a mirror dimension. Star trails reflected in a still lake can double the visual impact.
Mountains and ridgelines create a natural horizon boundary that frames the circular pattern.
Lighting the Foreground
During a multi-hour star trail session, your foreground is in darkness. You have three options:
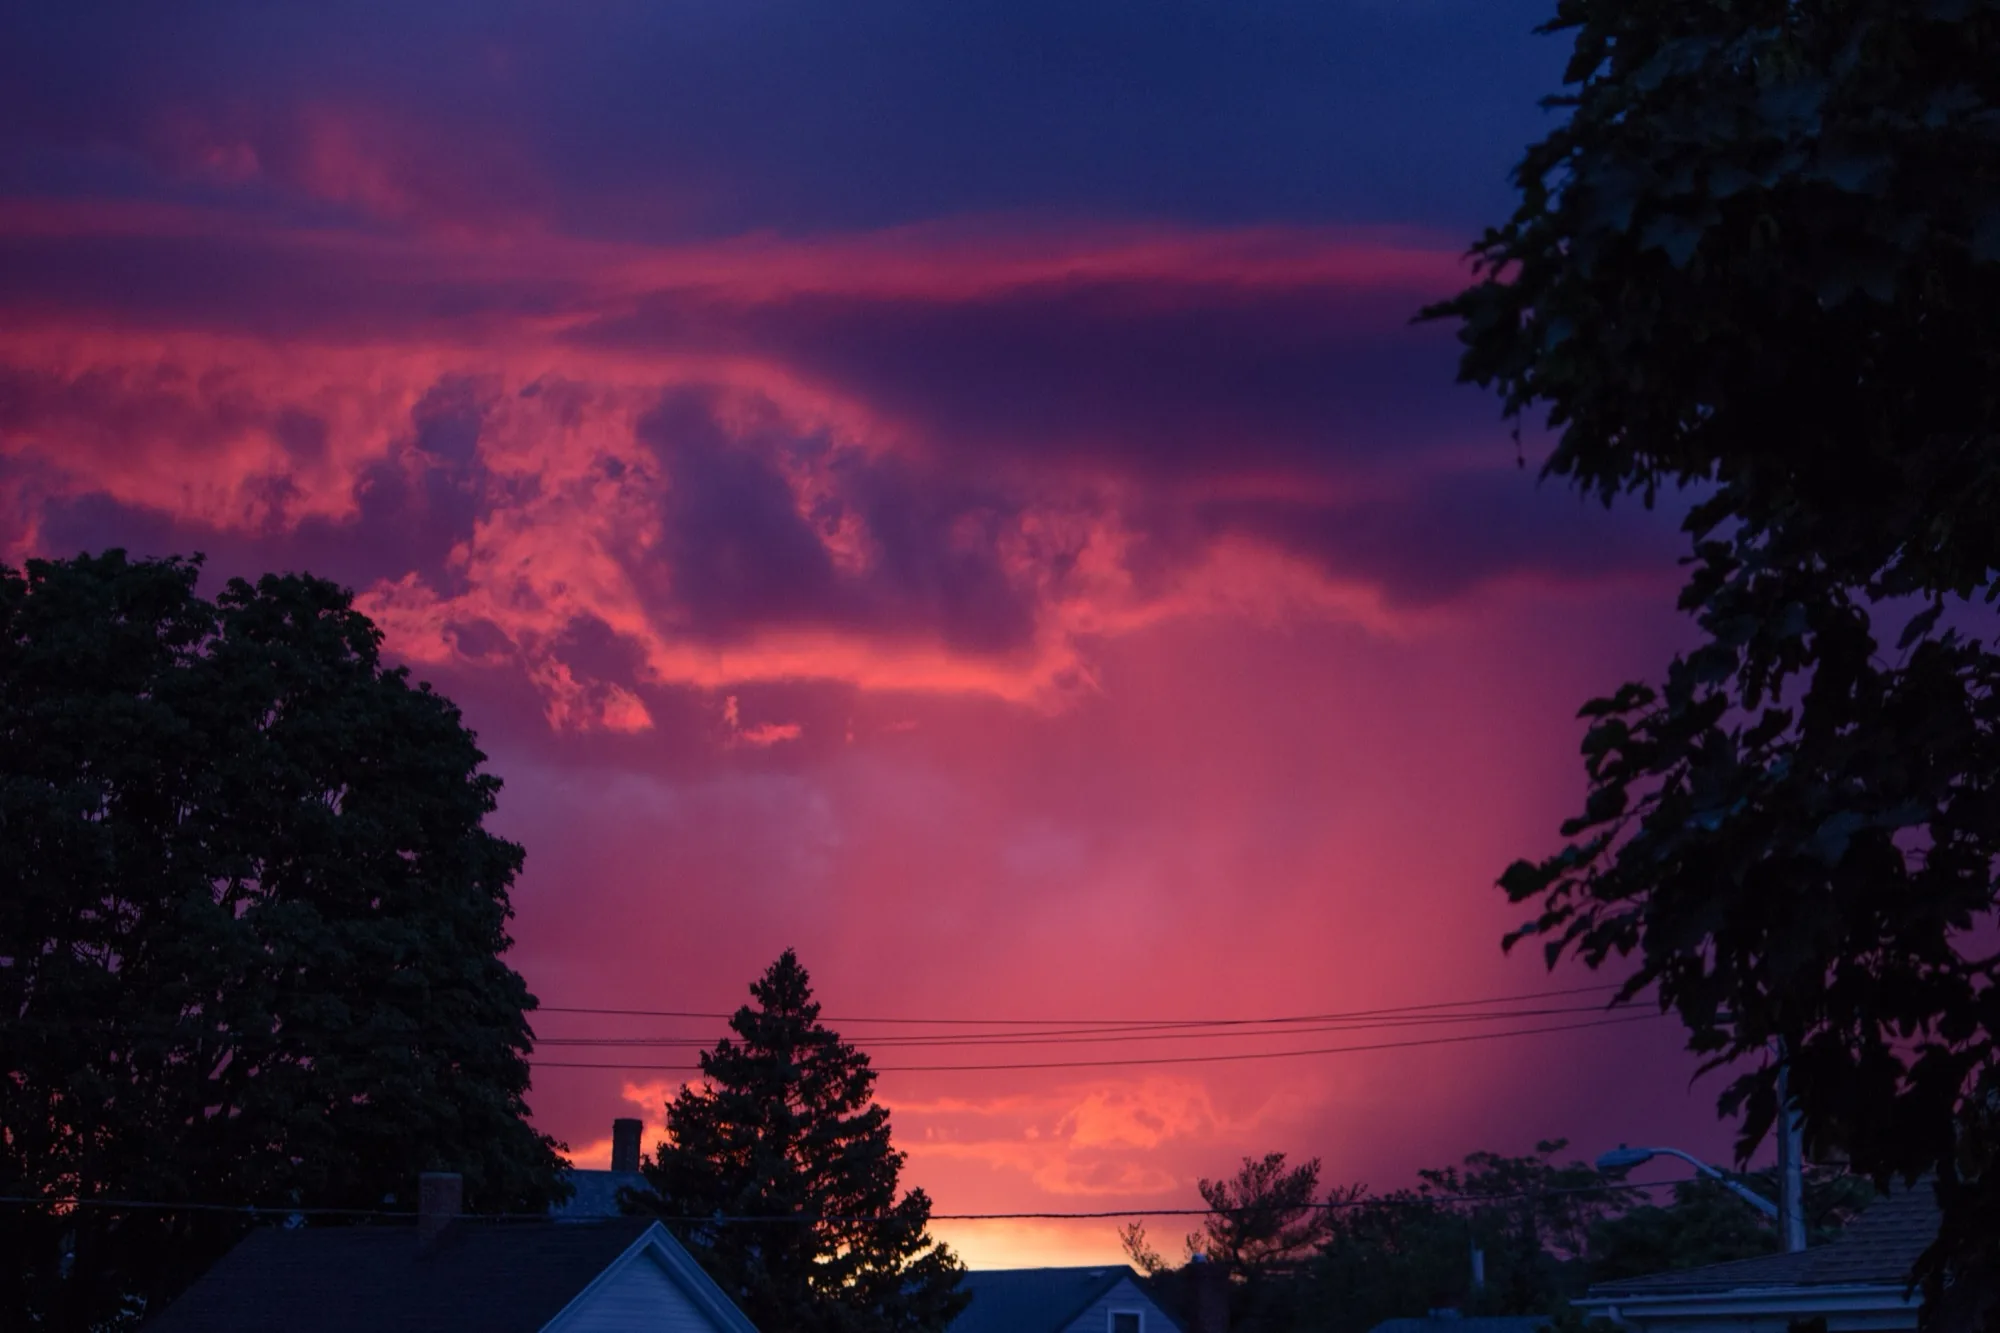
Ambient moonlight. If you schedule your session during a crescent Moon phase, the Moon can illuminate the foreground for part of the session before setting. The light is natural and even, but you'll need to exclude frames shot during bright moonlight if you want dark sky trails.
Light painting. During one or two frames of the sequence, use a flashlight to briefly illuminate the foreground. Use a warm-toned light (or apply a CTO gel) to avoid a cold, artificial look. Light paint from the side rather than straight on for more dimensional lighting. The stacking process will combine the light-painted frame(s) with the trail frames.
Twilight foreground composite. Shoot the foreground during blue hour when it's naturally illuminated, then shoot the trail sequence during astronomical night. Composite the two in processing. This produces the cleanest foreground but requires careful alignment and honest labeling.
The Practical Challenges of Multi-Hour Shoots
Battery Life
Continuous shooting drains batteries fast. At 25-second exposures with a 2-second gap, your camera fires approximately 130 times per hour. Most mirrorless cameras get 300-500 shots per battery under normal use, but the continuous sensor activation and image writing of a star trail session reduces this.
Plan for 1.5-2 batteries per hour of shooting. Bring at least four charged batteries for a three-hour session. Keep spares warm (inside pockets) — cold batteries perform significantly worse.
Some cameras accept USB-C power delivery, allowing you to run from a large capacity USB battery bank. If yours supports this, it's the best option for eliminating battery concerns entirely.
Memory Cards
Calculate your storage needs before you go. 400 frames of RAW from a 45MP camera is about 80-120 GB. Bring a memory card with at least double that capacity (some frames will be larger due to scene content, and you might shoot extra test frames).
Fast write speed matters. Your 2-second inter-frame gap relies on the camera buffer clearing quickly. A slow card can extend the gap, creating larger breaks in the trails.
Dew and Condensation
On humid nights, dew forms on the front lens element. It happens gradually — you might not notice until reviewing frames later and finding the last two hours of images are soft and hazy.
Prevention: a dew heater strap wrapped around the lens barrel. These are powered by USB battery banks and maintain the lens a few degrees above the dew point.
Monitoring: check your lens every 30-45 minutes. Touch the front element housing (not the glass) — if it feels cold and clammy, dew is forming or imminent.
Emergency fix: wipe the element gently with a clean lens cloth and increase the dew heater setting. The frames shot while the element was fogged are unusable.
Airplanes and Satellites
Multi-hour exposures from any location near an air corridor will capture airplane trails — bright, dotted lines (from anti-collision lights) cutting across the star trails. These are distracting.
Solution: exclude frames containing airplane trails from the stack. In a 400-frame sequence, losing 10-15 frames to airplanes creates minor gaps in the trails at those positions, but the gaps are small enough to be invisible in the final image.
Satellites produce similar lines but are continuous (no blinking) and usually fainter. Starlink satellite trains are an increasing problem — they produce parallel lines across the frame. Same solution: exclude affected frames.
Processing Star Trail Stacks
Stacking Software
StarStaX (free, cross-platform) is the standard. Import all your frames, select "Gap Filling" mode if you want the software to interpolate between inter-frame gaps, and let it process. The result is a single image with the combined trails from all frames.
Photoshop can also stack: load all frames as layers, select all layers, set blending mode to Lighten. The result is the same — each pixel retains the brightest value from any frame. Processing is slower than StarStaX for large stacks.
Sequator (free, Windows) combines star trail stacking with alignment features that are useful if you want to also produce a deep-stacked astrophotography image from the same frames.
Gap Filling
The 1-2 second gaps between frames produce faint breaks in the trails that are visible at 100% zoom. StarStaX has a "Gap Filling" mode that interpolates between frames to fill these gaps. It works well for web and moderate-size prints. For critical work, it's slightly softer than native trails but invisible at normal viewing distances.
Post-Processing the Stack
Once stacked, treat the result like any astrophotography image:
White balance: adjust for natural star colors. Around 4000-4500K typically produces white stars with subtle color tints (red for cool stars, blue for hot stars).
Contrast: increase gently. The trails should stand out from the sky background but shouldn't look like neon.
Vignette correction: many wide-angle lenses produce visible vignetting (darker corners) that accumulates in stacked images. Correct in your RAW processor before stacking, or apply vignette correction to the stacked result.
Light pollution gradient: if one side of the frame is brighter than the other (from distant city lights), correct with a graduated adjustment or light pollution gradient removal tool.
Star Trail Length and Direction
The direction and length of trails depend on where you point your camera relative to the celestial pole.
Toward the Pole
Stars trace tight circles. Near Polaris (or the south celestial pole), the circles are very tight — Polaris itself barely moves. Stars further from the pole trace larger circles. Including the pole creates the classic concentric circle pattern.
Perpendicular to the Pole (Celestial Equator)
Stars trace nearly straight lines across the frame. This is the direction of maximum apparent motion — stars here move at 15° per hour. These are the longest trails per unit time and create a dynamic, flowing look.
At an Angle
Most compositions include some sky near the pole and some away from it, creating a mix of tight curves and broader arcs. This variety is usually the most visually interesting composition.
North vs South vs East vs West
Point north (Northern Hemisphere): circular trails centered on Polaris. Point south: long, sweeping arcs parallel to the celestial equator. Point east: stars rise — trails curve upward from the horizon. Point west: stars set — trails curve downward toward the horizon.
Rising or setting star trails combined with a foreground element on the horizon can create a sense of motion that purely circular compositions lack.
Frequently Asked Questions
How long do I need to shoot for visible star trails?
At minimum, 30 minutes produces clearly visible arcs. One hour produces dramatic trails. Two to three hours produces the sweeping, full-circle patterns you see in published work. The longer you shoot, the more dramatic the result — there's no upper limit beyond practical constraints (battery, dew, patience).
Can I shoot star trails during a half Moon?
Yes, with trade-offs. Moonlight illuminates the foreground naturally (a benefit) but brightens the sky background, reducing the contrast of the star trails and washing out fainter stars. The trails will be thinner (fewer faint stars contribute) but the overall image can be compelling because of the naturally lit landscape.
What's the minimum focal length I should use?
14-24mm on full frame is standard. Wider lenses capture more of the circular pattern but make individual trails thinner and less dramatic. Narrower lenses (35-50mm) capture a smaller section of sky with thicker, more dramatic trails — but you lose the circular pattern unless you point directly at the pole.
How do I avoid gaps in stacked trails?
Use StarStaX's Gap Filling mode. Alternatively, minimize the gap between exposures by using a fast memory card (to speed up buffer clearing) and setting the intervalometer interval as tight as possible. Some cameras have a built-in continuous shooting mode for astrophotography that minimizes or eliminates the gap.
Should I remove airplane trails from my star trail image?
Yes, unless you specifically want them. Remove them by excluding affected frames from the stack. In a 300-frame sequence, removing 10 frames creates gaps so small they're invisible.
Can I make a timelapse video from the same frames?
Absolutely — this is one of the best advantages of stacking. Import the same RAW frames into timelapse software (LRTimelapse, Adobe Premiere, DaVinci Resolve) and render as a video at 24-30 fps. A 300-frame sequence becomes a 10-12 second timelapse showing the stars rotating across the sky.
Calculate your maximum exposure for sharp stars with our Spot Stars Calculator, and check Moon conditions for your next star trail session with the Moon Calendar.
Recommended Reading
Continue reading
Newsletter
A short reading once a month, in your inbox.
A note on the symbolism of the season, recent editorial pieces, and what to look for in next month's sky. No predictions.
Cancel anytime. We don't share your address.
Support this project
Independent, no venture funding, no ads. A contribution keeps Astrian precise and free.
Support on Ko-fi (opens in new tab)